Learn to postprocess PLA on Masks
Postprocessing PLA on masks by NA SKEJT MALOVANE
Published on 16 May, written by Laila
The postprocessing of 3D-printed models can be taken to a whole new level by turning simple prints into stunning works of art with an even more personal touch. The world of creativity and its possibilities truly is infinite. Daniel made the most of it with his latest creation: spray-painted 3D-printed masks.
Meet Daniel, NA SKEJT MALOVANE
(Painted on a Skate)
Daniel Pankuch, who goes by the nickname NA SKEJT MALOVANE, is a young artist from Slovakia whose main domain is painting skateboards in a style that blends cyberpunk and pop culture, which really is something special. “Skateboards are my main canvas, but if I come up with a good idea I’ll spray paint anything, and that’s exactly how I got into masks. I saw a video of 3D printing and, looking at the printout of the mask, I thought, spray painting it would be so cool.” Creativity really enables artists to discover new possibilities for making art and expanding their skills. It’s incredible to see how far Daniel has come with his art.
An Idea was born!
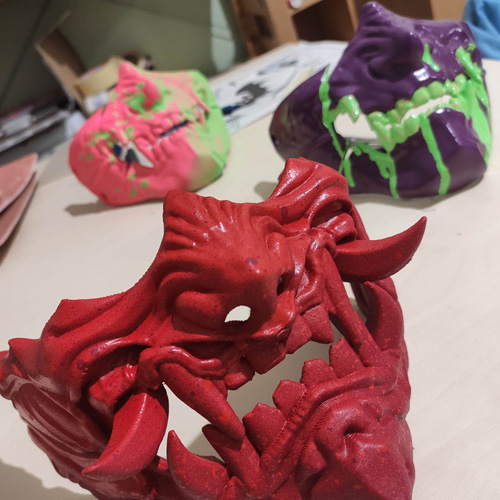
Daniel’s masks prove that with a bit of inspiration and loads of hard work, the most beautiful designs can see the light of day. However, painting the model is a completely separate topic regarding 3D printing. “The color scheme of the masks is partly thought out and partly improvisation. I pick a basic color combination, like yellow-black and a ratio of colors- that’s the thought-out part. Then I blob, pour, brush, or even wet-brush the color. The style is simply a crystallization of my creative process.” Daniel’s style allows him to express his creativity and bring his ideas to life.
The challenges of postprocessing
“My friend was printing the masks as a side project, so we were trying to save time and resources. Nevertheless, one piece was printed in about 15 hours.”
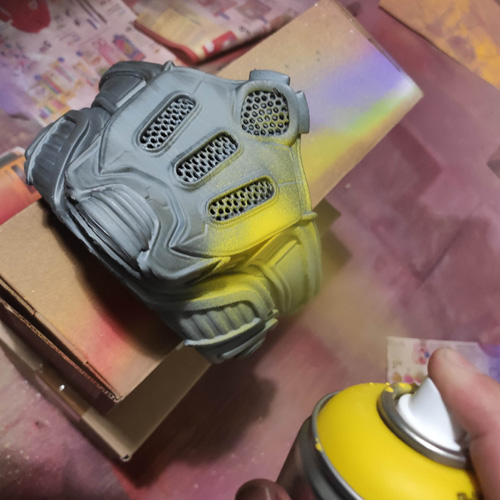
When it comes to postprocessing the prints, cleaning or sanding them down might be quite the challenge, not to mention the other steps that are crucial to the final look of the design. The editing or finishing part can take more time and energy than the actual designing and printing of the model. “My postprocessing consists of trimming off some of the sharp parts left by the flawed supports and small printing fouls. I sand down any sharp edges, spray the primer, and the rest of the job is all about the sprays. Layering and splashing the paint in different shades can produce a texture that partially masks the print layers. Most of the surface of the mask appears smooth and then there are places where the layering is easily seen.” Choosing not only the right color for the right filament but also the right technique can make look the surface very smooth.
And when it comes to painting...
Painting 3D-printed models is much more complex than it seems. Various techniques can be used for various materials, and not all paints go well with all filaments. “My friend used some special expensive filament and smoothed it out chemically. After the spraying, there was some kind of interaction – the model turned into a soft and malleable mass that my fingers dug into when I was checking the paint for dryness.” So even when not everything goes according to plan, beautiful interesting designs can be brought to life. “As these unexpected interactions happen, I quite like trying to figure out how they could be used for some cool visuals in the future, or incorporate them into the design right away if possible.”
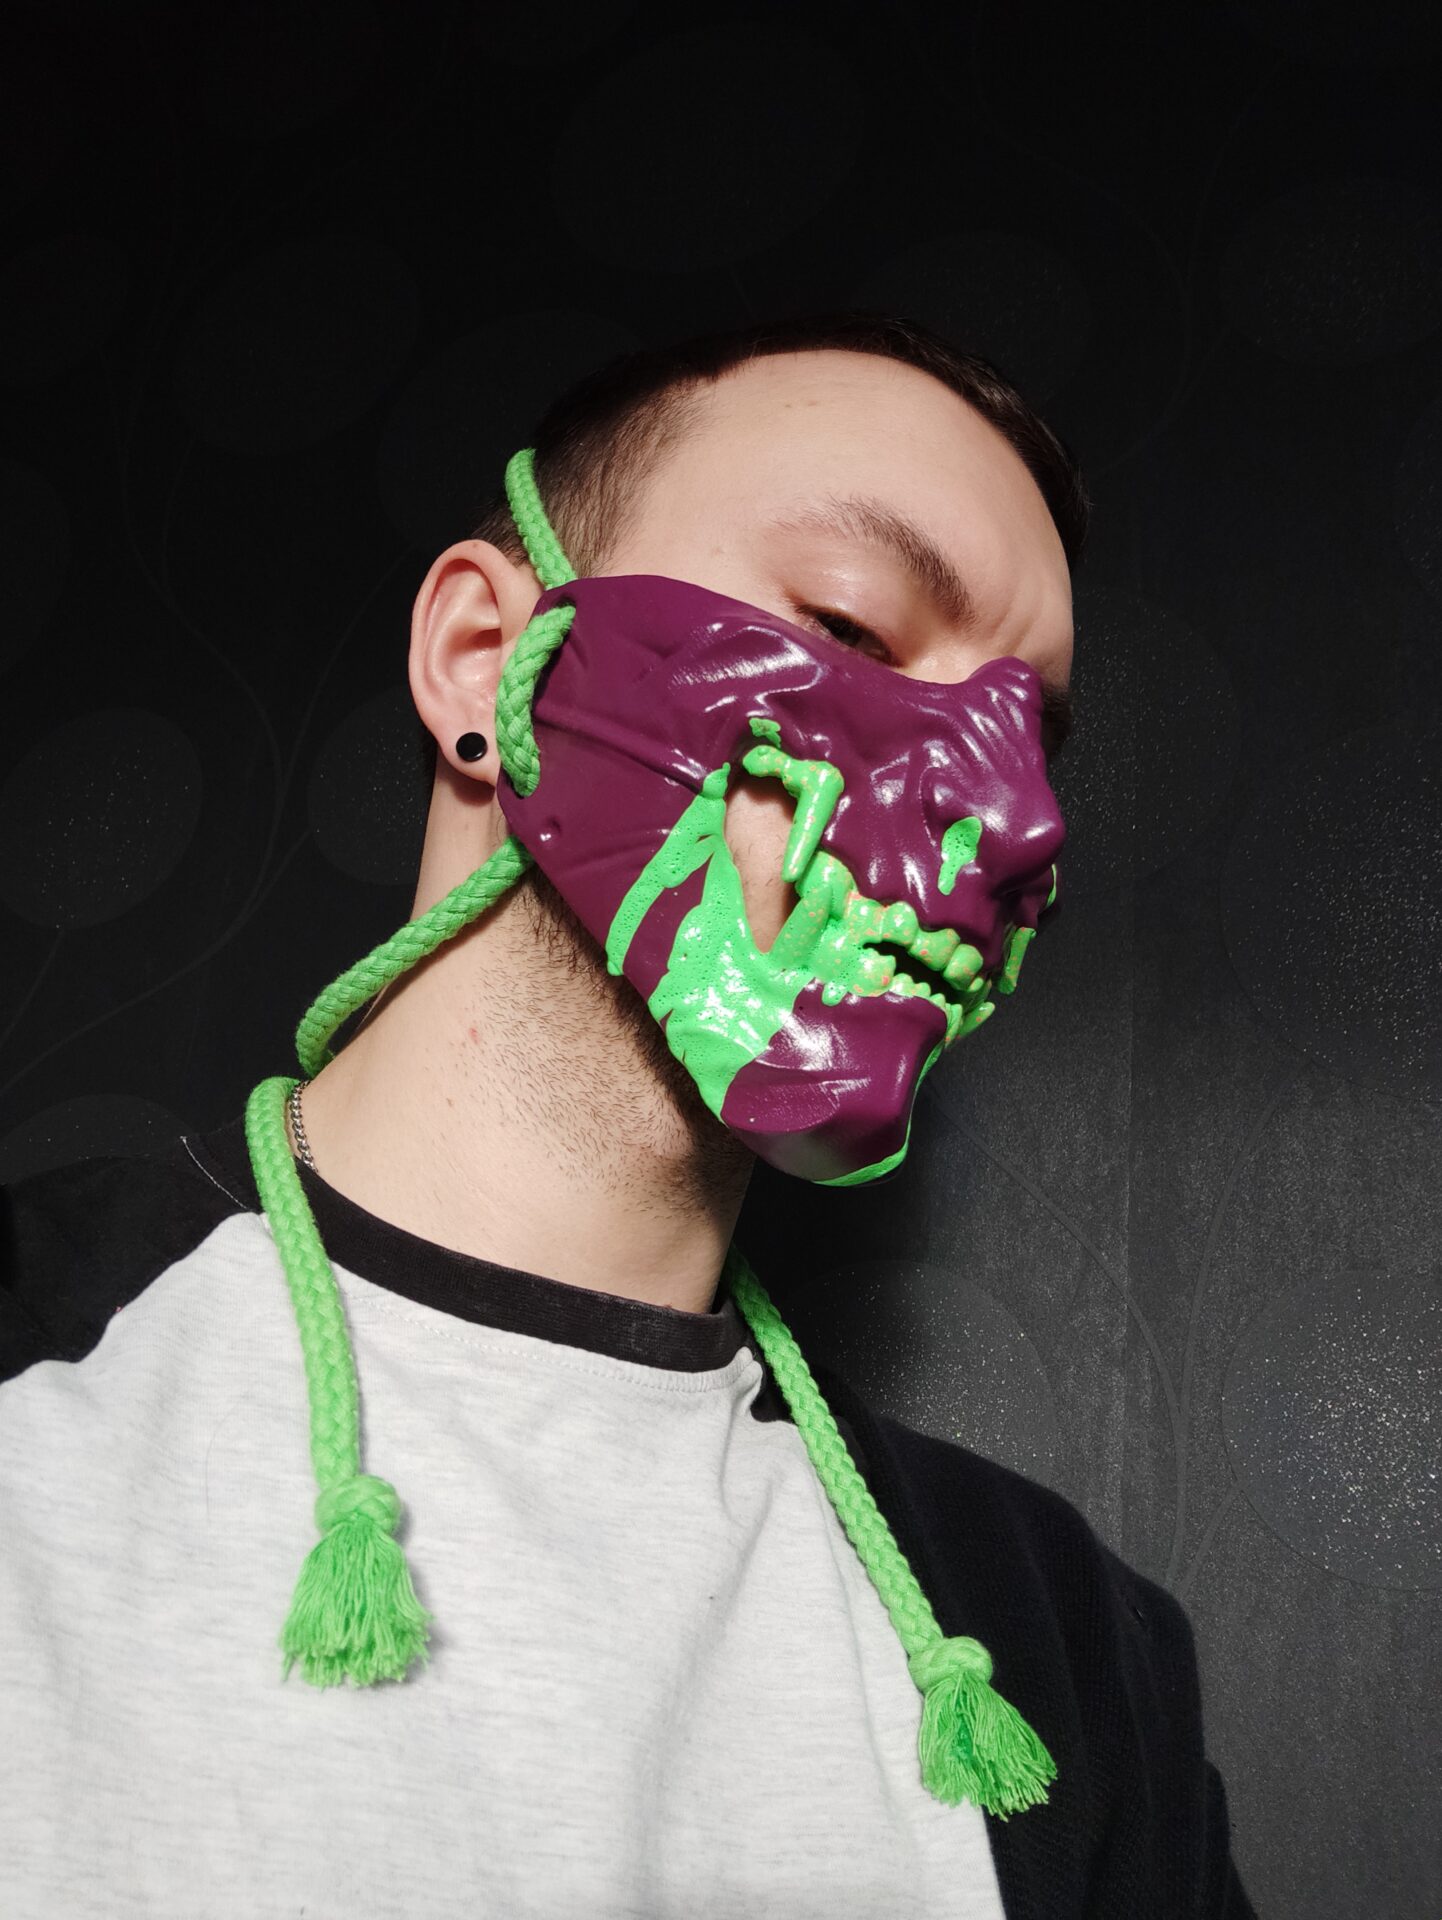
The more details a 3D-printed model has, the more difficult it is to paint different parts with different colors. However, looking at Daniel’s masks, it looks like details are no problem for him, so we were wondering what he does to separate various colors. “I only used tape once when I wanted to separate the neon green teeth clearly. It was very laborious with such a jagged surface, which is why I used acrylic markers on the teeth for the other masks.”
"Why would I hide the fact it's 3D print?"
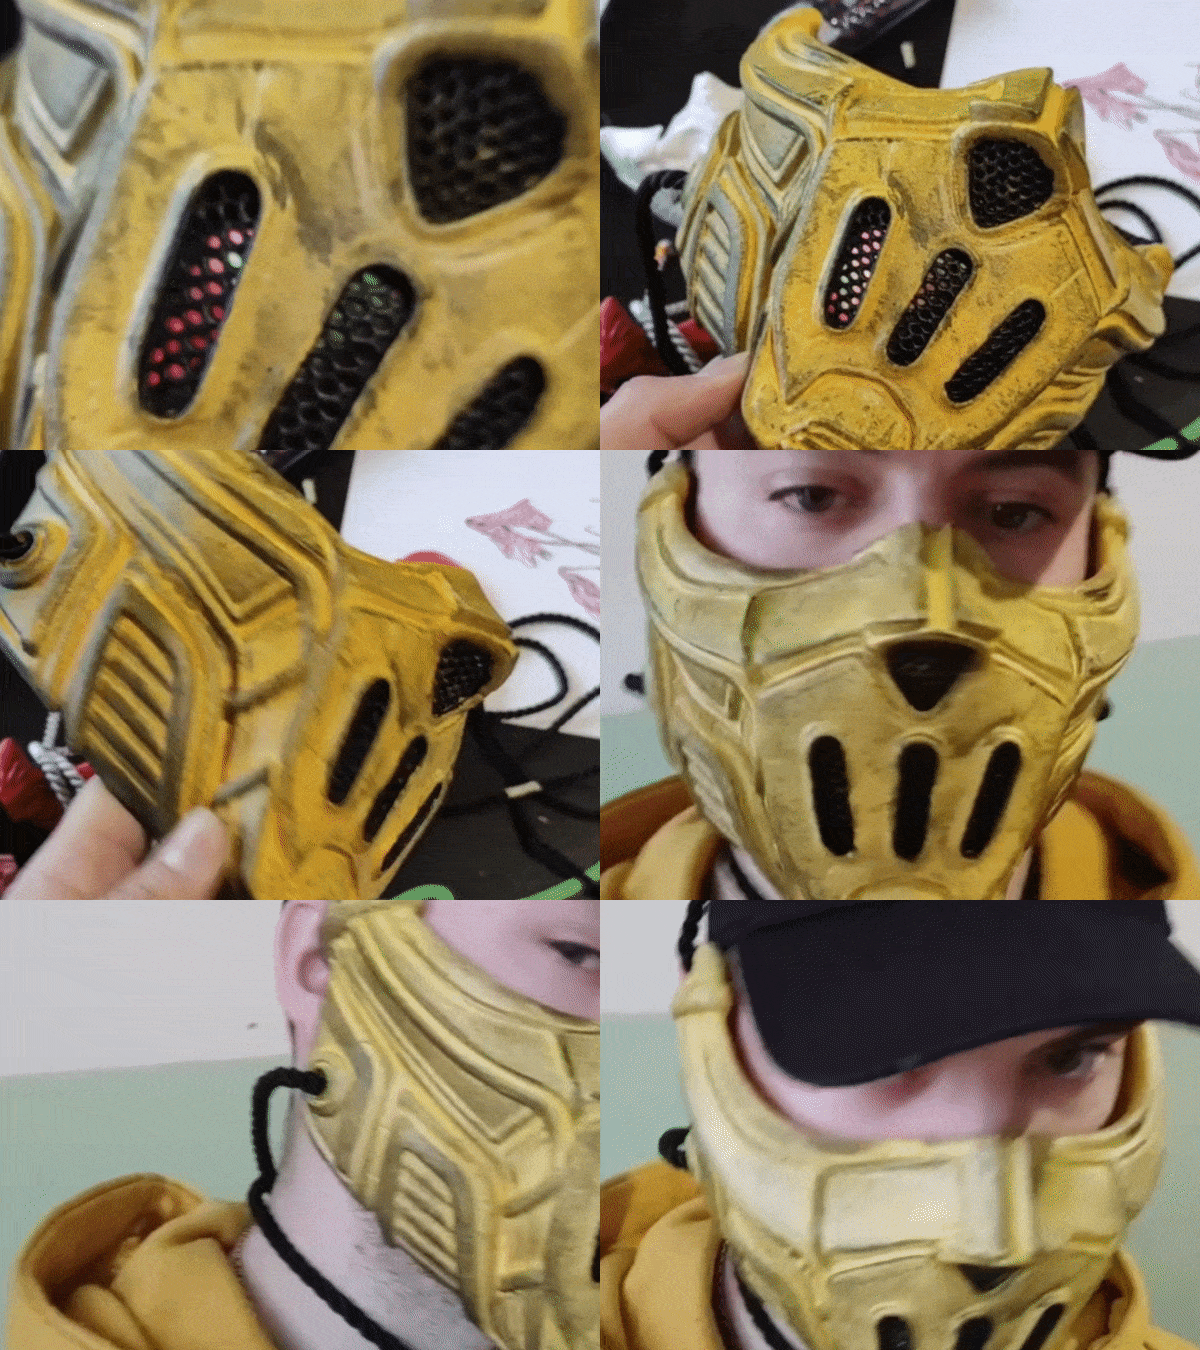
The print layers are a beautiful representation of the hard work behind the 3D printing of both the maker and printer. In the past, some makers used to sand them down to make the model look like it was not 3D printed. Now the trend is just the opposite – to actually admit that something is 3D printed and be proud of it. Daniel is no exception. “I personally don’t mind admitting those print lines. Why would I hide the fact that it’s a 3D print?” It seems like this positive attitude towards 3D printing, admitting all its features and ‘imperfections’, is becoming more popular lately, as designers often use high layer heights and add lines as a means of expression or texture, which is great news.
The right filament requires the right paint
Daniel used PLA Extrafill “Rapunzel Silver” as the base of the masks. “I use Molotow’s Flame Blue and Belton sprays. They hold up without primer, I only started using that afterward just to be sure. I definitely recommend everyone do a test run before using any type of ink because the print can melt as it did to me.” The print really can melt, so the right choice of paint is crucial (* it’s not a good idea to use acetone-based colors on ABS). Thankfully, PLA is very flexible – it has good surface quality and hardness, characteristics that make it the right candidate for the usage of various paints.
Tip No.1: Improvise
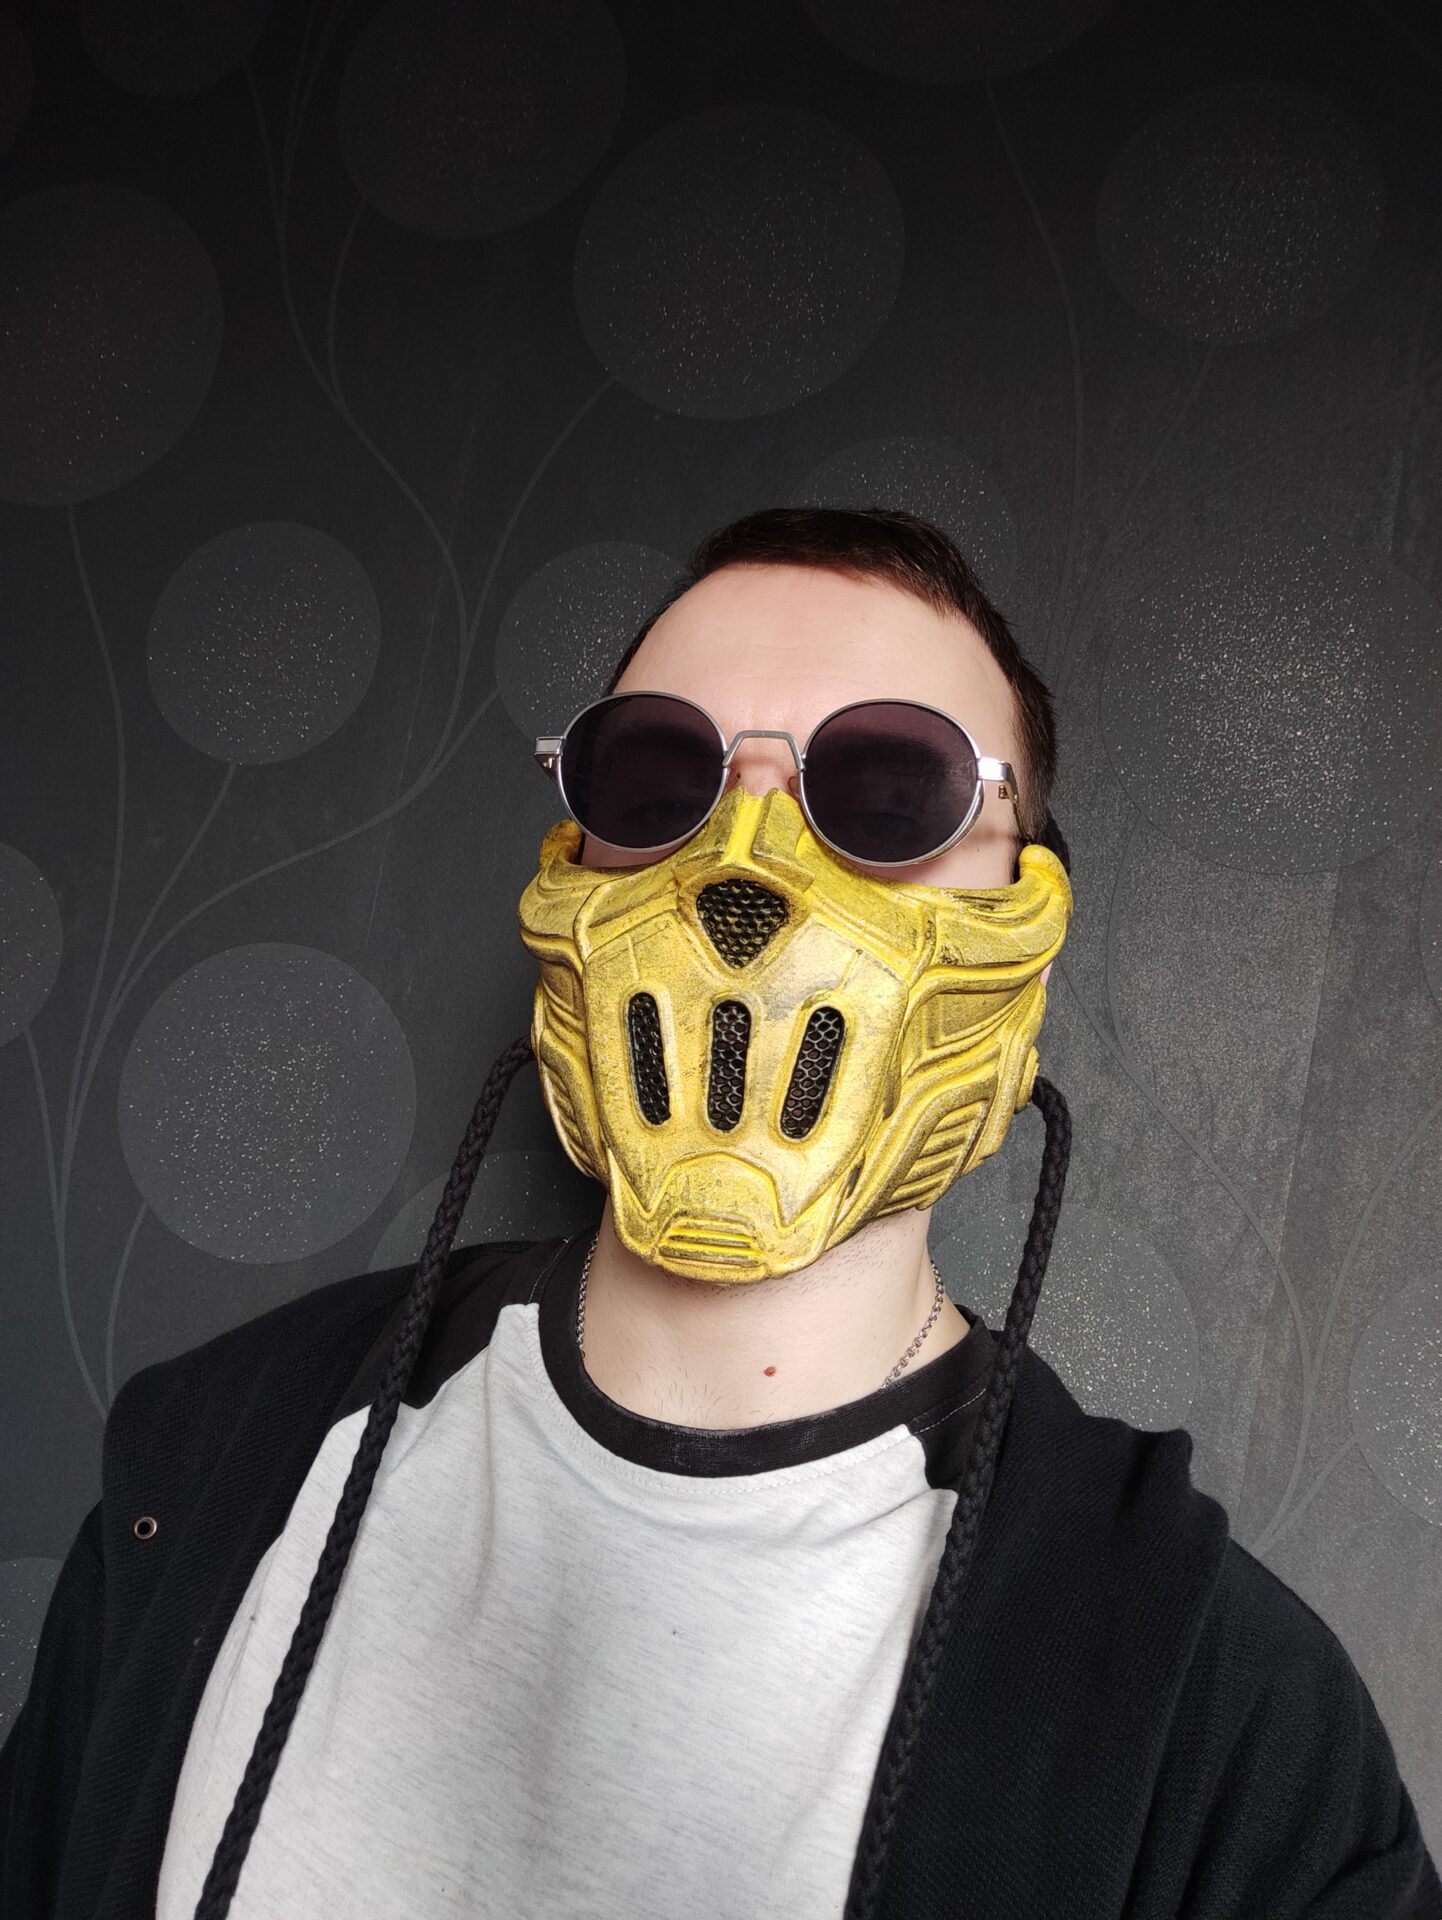
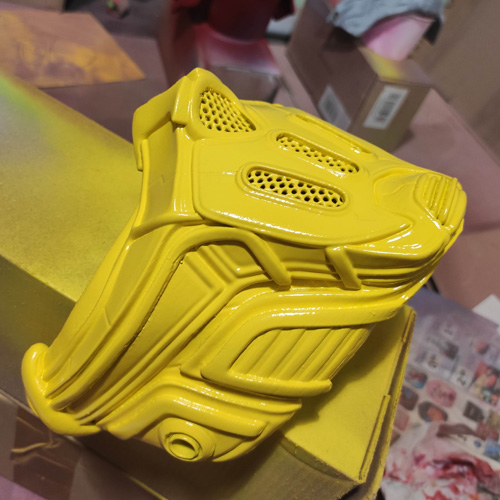
Every maker is unique, with their own experiences, various skills, favorite materials, and techniques. So we were wondering what the one tip or recommendation is from Daniel for other artists. “Don’t be afraid to mess things up and improvise.” Improvisation can lead to the best results, as he further explains. “The yellow mask of The Beekeeper came about by me letting my followers vote on what color the mask would be. The yellow and black won. On the yellow mask, I painted the grids black and spilled the black from the grids all over the mask. So I bathed it all over but there were spots left, so I made it all splotchy. Finally, I spilled water on the paper, dripped the black in, and with a crumpled handkerchief layered this “dirt” all over the mask.”









Comments are closed.